Quick answer
Deck oiling works best on a clean, dry deck in mild, settled weather. Sweep, wash with a deck cleaner, let the boards dry fully, then apply thin, even coats of decking oil along the full length of a few boards at a time. Many owners recoat about once a year, more often in full sun. Always follow the product's instructions.
Deck oiling is the single best thing you can do to keep a timber deck looking good. Oil slows the sun’s greying effect, reduces surface checking and helps the boards shed water. The good news is that oiling a deck is straightforward if you choose the right day and prepare the timber properly.
This guide covers how to oil a deck step by step, how often to do it in Adelaide’s climate, and what to do differently with new merbau.
What you need before you start
Most of the work in deck oiling is preparation. Get your gear together first so you are not caught half-way through when the weather turns.
Checklist:
- Broom and a stiff-bristle scrubbing broom
- Garden hose
- Timber deck cleaner suited to your timber (and a tannin and oil remover for new boards)
- Decking oil, enough for your deck size according to the label coverage
- Applicator: an applicator pad on a pole, a brush, or a lambswool applicator, as the product recommends
- Small brush for edges and board ends
- Drop sheets or painter’s tape to protect walls, paving and posts
- Gloves and old clothes
Always read the product’s instructions before you start. Drying times, coverage, number of coats and application temperature vary between products, and the label is the final word.
Step 1: pick the right weather window
Choose a mild, dry spell with no rain forecast during application and drying. In Adelaide, autumn and spring are usually the most comfortable seasons for oiling.
Things to avoid:
- Hot days and direct sun. Oil on hot boards dries too fast and leaves lap marks. On summer days, work early in the morning or late in the afternoon in shade.
- Rain or heavy dew. The deck needs to stay dry while the oil soaks in and cures.
- Strong wind. It blows dust and leaves into the wet finish.
You need a dry window for cleaning, drying and coating, so most people plan deck oiling over a few days.
Step 2: clear and sweep the deck
Move all furniture, pots and mats off the deck. Sweep thoroughly and clear the gaps between boards with a putty knife or gap cleaner so water can drain and the board edges take oil.
While the deck is bare, check for:
- Nails or screws that have lifted
- Boards with splits, soft spots or rot
- Areas of mould or algae, often on the shaded side of the deck
Fix any raised fixings before you go further. If you find boards with rot or major damage, that is worth looking at before you put more effort into coating.
Step 3: clean the timber
Cleaning removes grime, grey weathered fibres and old, failed coating so the new oil can soak in. Apply a timber deck cleaner according to its label, scrub along the grain with a stiff broom, then rinse well with a hose.
A note on pressure washers. A pressure washer can strip the soft surface fibres of timber, leaving the grain furred and the boards gouged. If you do use one, keep the pressure low, use a wide fan nozzle, hold it well back from the surface and work along the grain. A broom and garden hose is often all you need.
If an old coating is flaking or patchy, you may need a stripper or a light sand to get back to an even surface. Follow the product’s directions, and sand along the grain.
Step 4: let the deck dry completely
The timber must be fully dry before oiling, or the coating will not penetrate evenly. Drying time depends on the weather and the timber, but in most conditions you should allow at least a full dry day, and longer in cool or humid weather.
A simple test is to look at the boards. They should be an even, light colour with no dark damp patches, especially at the ends and around fixings. Many product labels give a specific dry time or moisture guide, so check yours.
Step 5: apply the decking oil
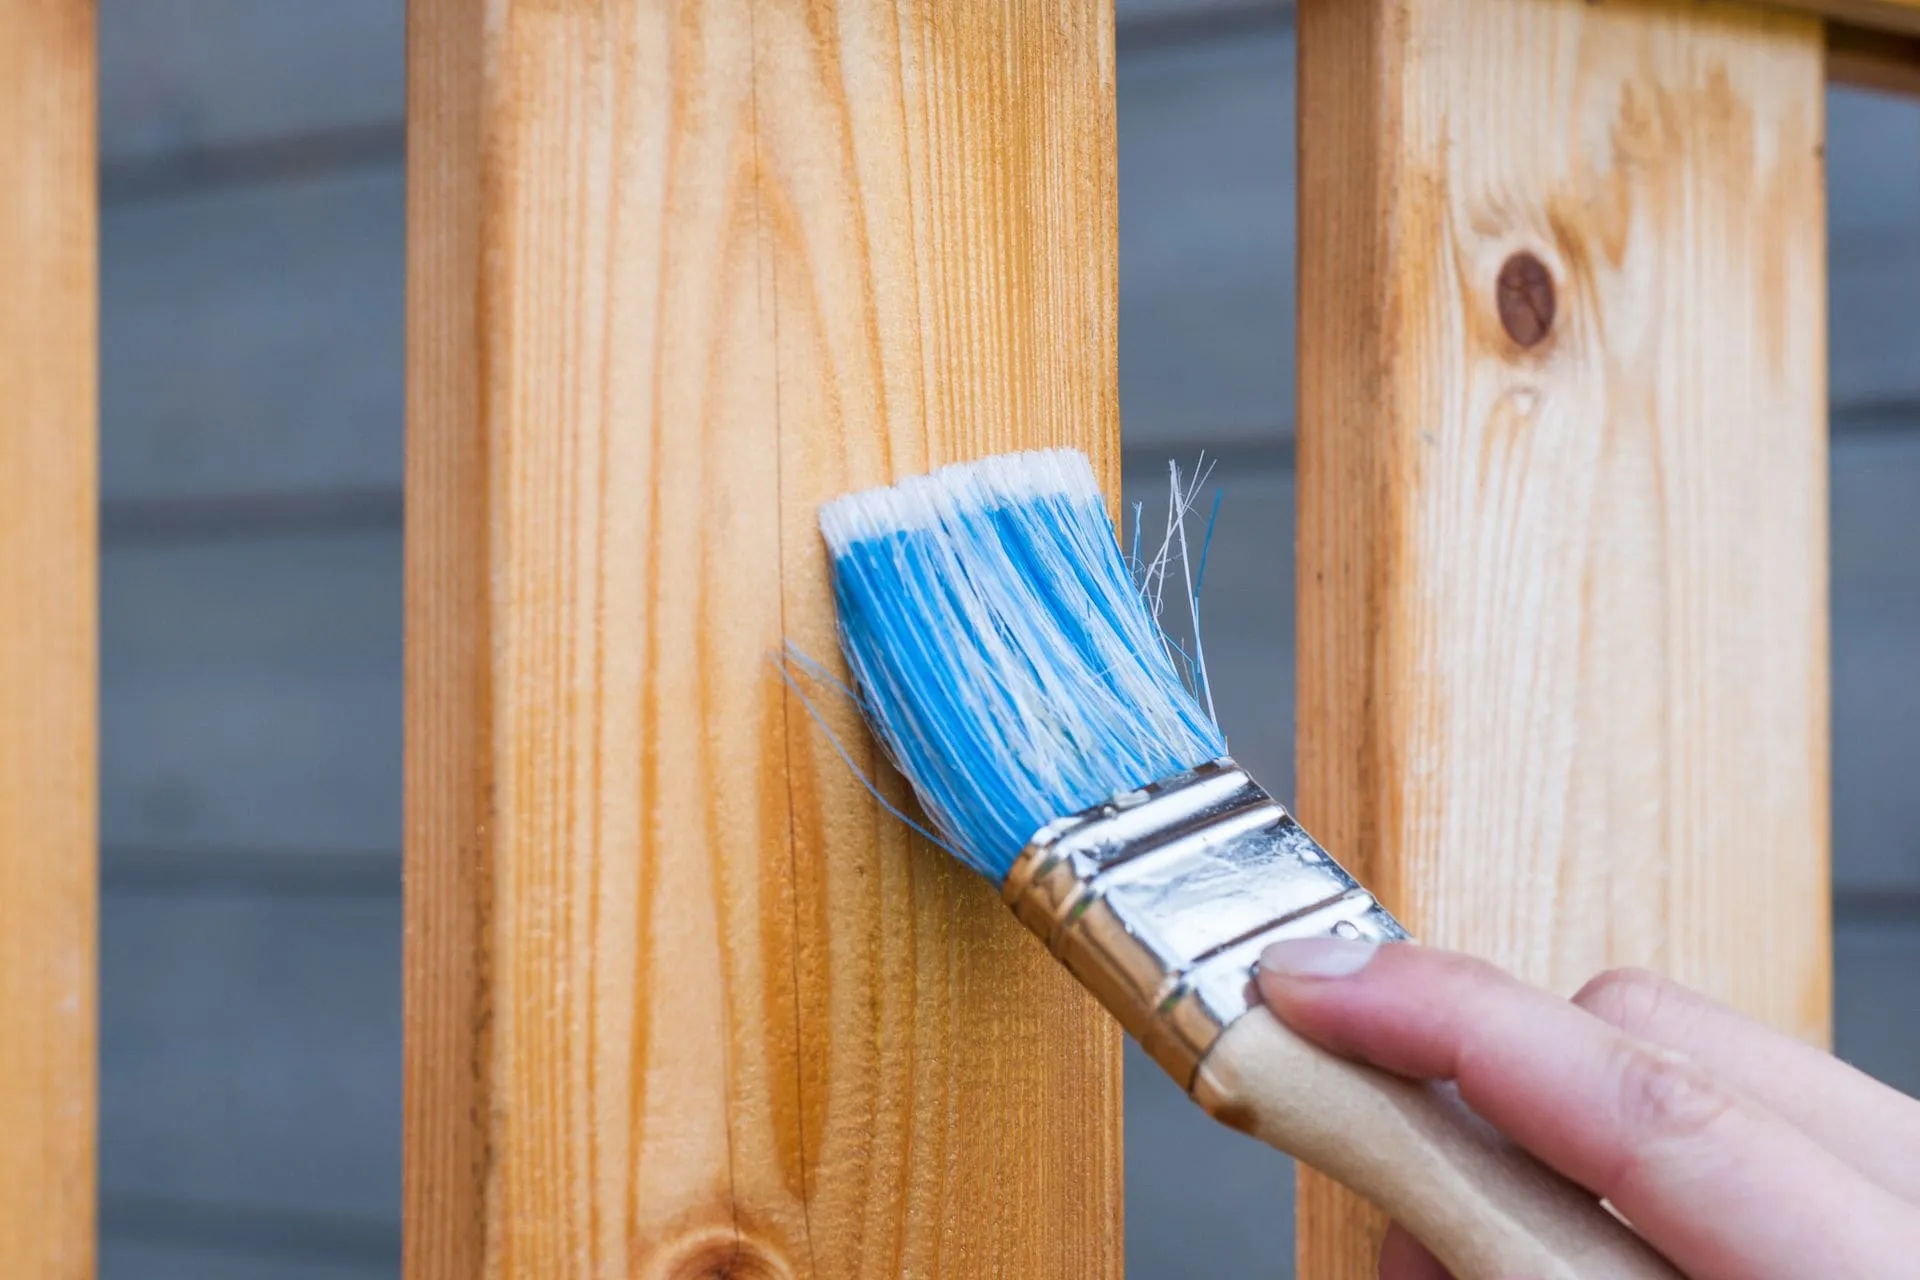
Apply thin, even coats, working along the full length of a few boards at a time. Working board by board stops lap marks forming where wet oil meets dry oil.
- Stir the decking oil well before and during use.
- Start at the far end of the deck and work back towards your exit.
- Use a small brush first on board ends, edges and around posts.
- Apply the oil with your applicator along the grain, keeping a wet edge.
- Avoid puddles. Wipe off any excess the label says should not sit on the surface.
- Let the first coat dry for the time on the label before applying a second coat, if recommended.
More is not better. Over-applying oil can leave a sticky, shiny surface that attracts dirt and stays tacky.
Step 6: let it cure before using the deck
Oil may feel dry to the touch long before it is ready for furniture and foot traffic. Check the product’s guidance on light foot traffic, putting furniture back and full cure. Keep pets off the deck until it is safe to walk on, and lift furniture into place rather than dragging it.
How often to oil a deck in Adelaide
Many owners recoat about once a year, more often on decks in full sun. Check the product’s guidance.
Adelaide’s long, hot summers with strong UV are hard on coatings, especially on north and west-facing decks with no shade. Shaded decks and decks under a pergola or verandah usually hold their finish longer.
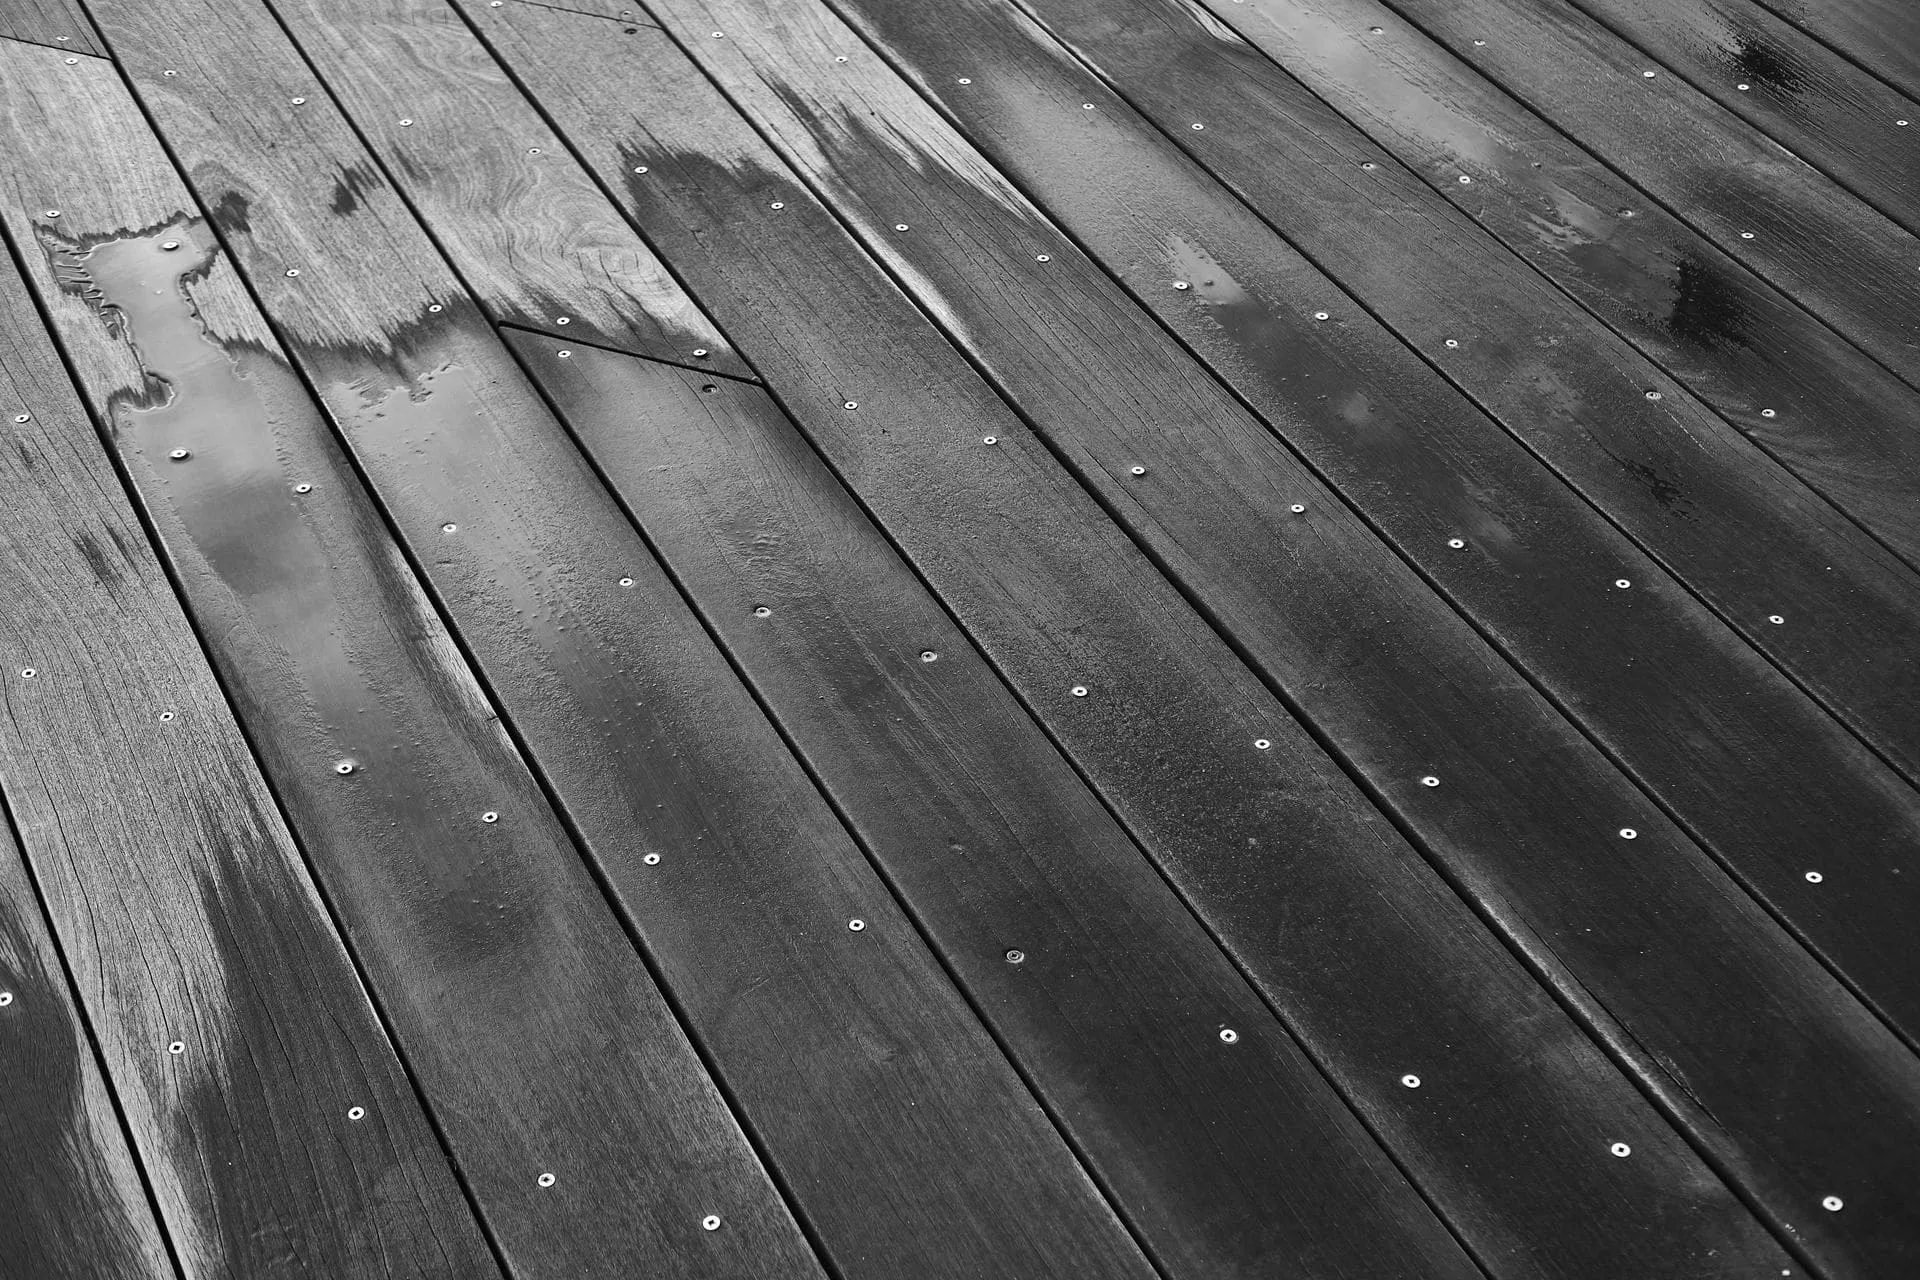
The water test: sprinkle some water on the boards. If it beads up, the coating is still doing its job. If it soaks in and darkens the timber, it is time for a maintenance coat. A deck that is recoated before it goes grey generally only needs a clean and one fresh coat, rather than a full restoration.
Oiling a merbau deck
Oiling a merbau deck needs extra preparation because new merbau bleeds tannin. The Queensland Government’s timber notes on merbau (kwila) also mention that gum bleed and oily patches can affect finishes.
For a new merbau deck:
- Protect nearby paving, concrete and render from run-off. Tannin stains can be hard to remove.
- Remove surface tannins and oils before the first coat. Coating makers recommend either letting the deck weather for several weeks, hosing it regularly, then cleaning it, or using a tannin and oil remover followed by a timber cleaner.
- Let the deck dry completely.
- Apply the decking oil as above, in thin coats.
The same approach suits other new hardwoods, such as spotted gum and blackbutt, which also release some tannin when new. Our guide to spotted gum vs merbau decking explains how the species differ.
Common deck oiling mistakes
- Oiling in hot, direct sun, which causes lap marks
- Coating a deck that is still damp
- Skipping the clean, so oil sits on grime and grey fibres
- Applying thick coats that stay sticky
- Not removing tannins from new timber first
- Using a high-pressure blast that furs the timber
- Switching products without checking compatibility
What about composite decking?
Composite decking does not need oiling. It needs regular washing instead, using products approved by the manufacturer. If you are still choosing a decking material, our guide to composite vs timber decking compares the upkeep of each. For year-round care of any deck, see deck cleaning and maintenance.
Your next step
We build new timber decks rather than restore old ones, so if your deck is past saving or you are planning a fresh one, we can help with the design and build. See our timber decking page and our overview of decking in Adelaide, then call us on 0485 008 292 or use the quote form. We will get back to you within 24–48 hours.
Sources
Photo is illustrative. This guide is general information for Adelaide homeowners, not engineering, planning or legal advice. Check current requirements with your council or PlanSA before you build.